
Many travelers and residents in Korea struggle with printing their ID photos because the photo booth menus are often Korean-only. Before you even step inside, you might be wondering which buttons to press, what size to choose, or how to select the right settings.
This guide walks you through every step in plain English — from choosing the correct size to finally printing your photo — so you never have to guess or waste time at the booth again.
The Problem Foreigners Face
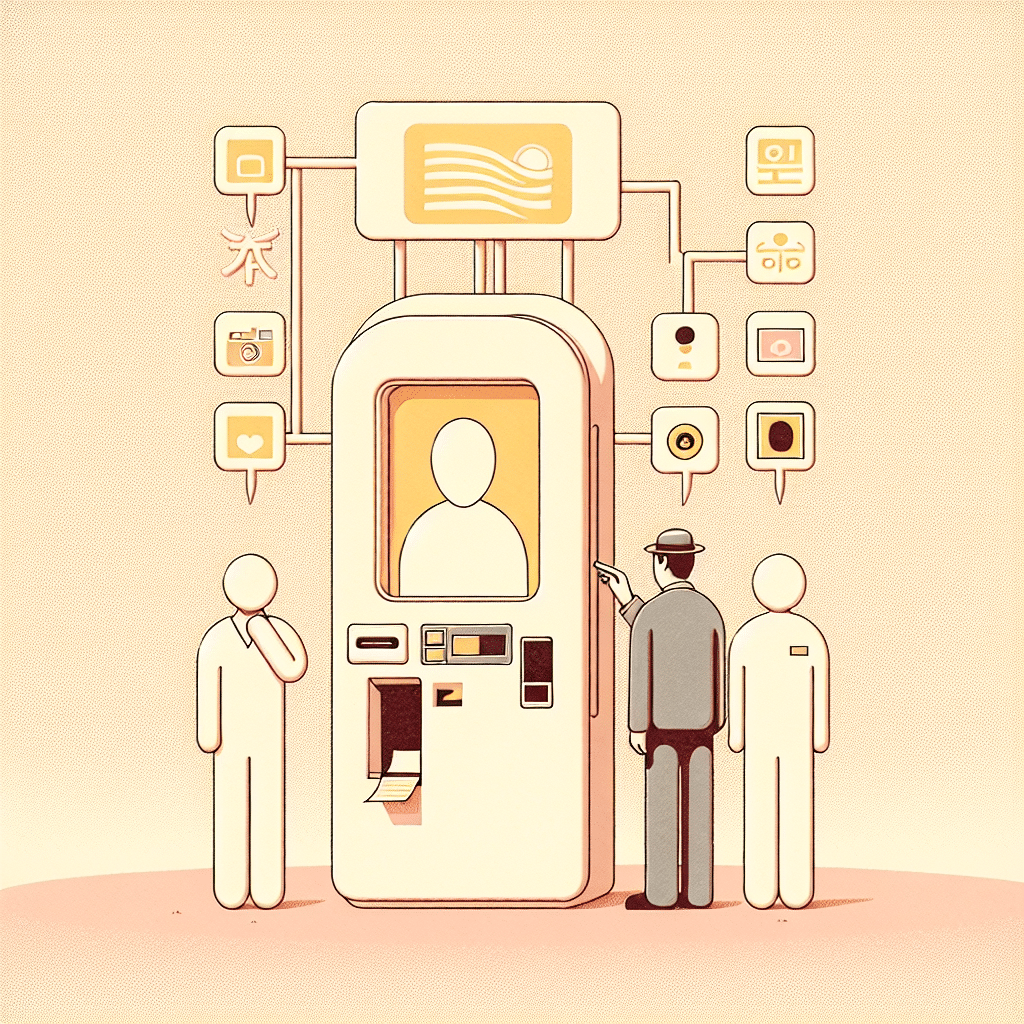
You need a quick passport, visa, ARC, or job‑application photo—but almost every self‑service photo booth in Korea is entirely in Korean. The menus move quickly, the icons look similar, and you’re never sure which option produces official ID photos. It’s easy to tap the wrong button and end up with playful sticker shots instead of the serious photo you need.
On top of that, Korean booths automatically enforce local ID‑photo standards. If your pose, lighting, or face size doesn’t match the rules, the machine simply asks you to retake the picture. Meanwhile, people are waiting behind you, and you leave without the photo required for immigration, your employer, or documents back home.
Why This Happens in Korea
Most booths in Korea are designed for fun profile photos rather than official documentation. The default interfaces, instructions, and error messages are in Korean, and the machines apply strict Korean ID criteria by default. Without knowing which icons mean “official photo,” it’s easy to end up in the wrong menu.
What You Should Do
1. Find a booth that supports 증명사진 (ID photos)
Look for common brands like Photoism, Life4Cuts, Haru Photo, or Inssa Photo. Before stepping in, check the front panel for the word “증명사진.” This confirms the booth can print official‑size photos.
2. Select the ID‑photo menu immediately
If a language menu appears, choose English (Photoism sometimes offers it). If not, tap “증명사진.” Avoid menus featuring frames, filters, couple shots, or 4‑cut layouts—those lead to casual sticker photos.
3. Choose the correct size
You’ll usually see several icons:
• 여권 = passport
• 비자 = visa
• 증명 = general ID
• 외국인등록증 = ARC
Select the one you need. When in doubt, 여권 (passport) is the safest choice for most international requirements.
4. Follow the positioning guide carefully
Sit upright, keep your full face visible, remove hats and large glasses, and make sure your eyebrows aren’t covered. Korean booths are strict; if your face doesn’t fit within the guide, you’ll be asked to retake the photo. Adjust calmly and try again.
5. Review and print without filters
Choose the plain, unedited option. Skip any “beauty correction” menus—over‑edited photos may be rejected by immigration offices. Press 출력 (print), then pay by card, mobile pay, or cash depending on the machine. Your prints will appear within seconds.
What Not to Do
• Don’t choose cute frames or 4‑cut layouts—they aren’t valid for official documents.
• Don’t apply heavy beauty filters.
• Don’t assume “증명” means passport; select 여권 or 비자 when needed.
Quick Survival Tip
Take a screenshot of the key Korean words—증명사진, 여권, 비자, 외국인등록증—so you can navigate any booth quickly next time.

Ask Seoul Unnie
Still confused by Korean-only menus or everyday situations like this?
Ask Seoul Unnie — real, practical answers from someone living in Korea.
📘 Living in a Korean Home
This article is part of our Living in a Korean Home guide series for foreigners.
### Related Guides
Recommended for you
- Passport photo kit – useful for checking pose and lighting before using a booth
- Portable ring light – helps ensure clear lighting for ID photos
- Korean phrasebook – handy for recognizing basic booth terms like 여권 and 비자
- Travel card holder – keeps printed ID photos and documents protected
As an Amazon Associate, I earn from qualifying purchases.